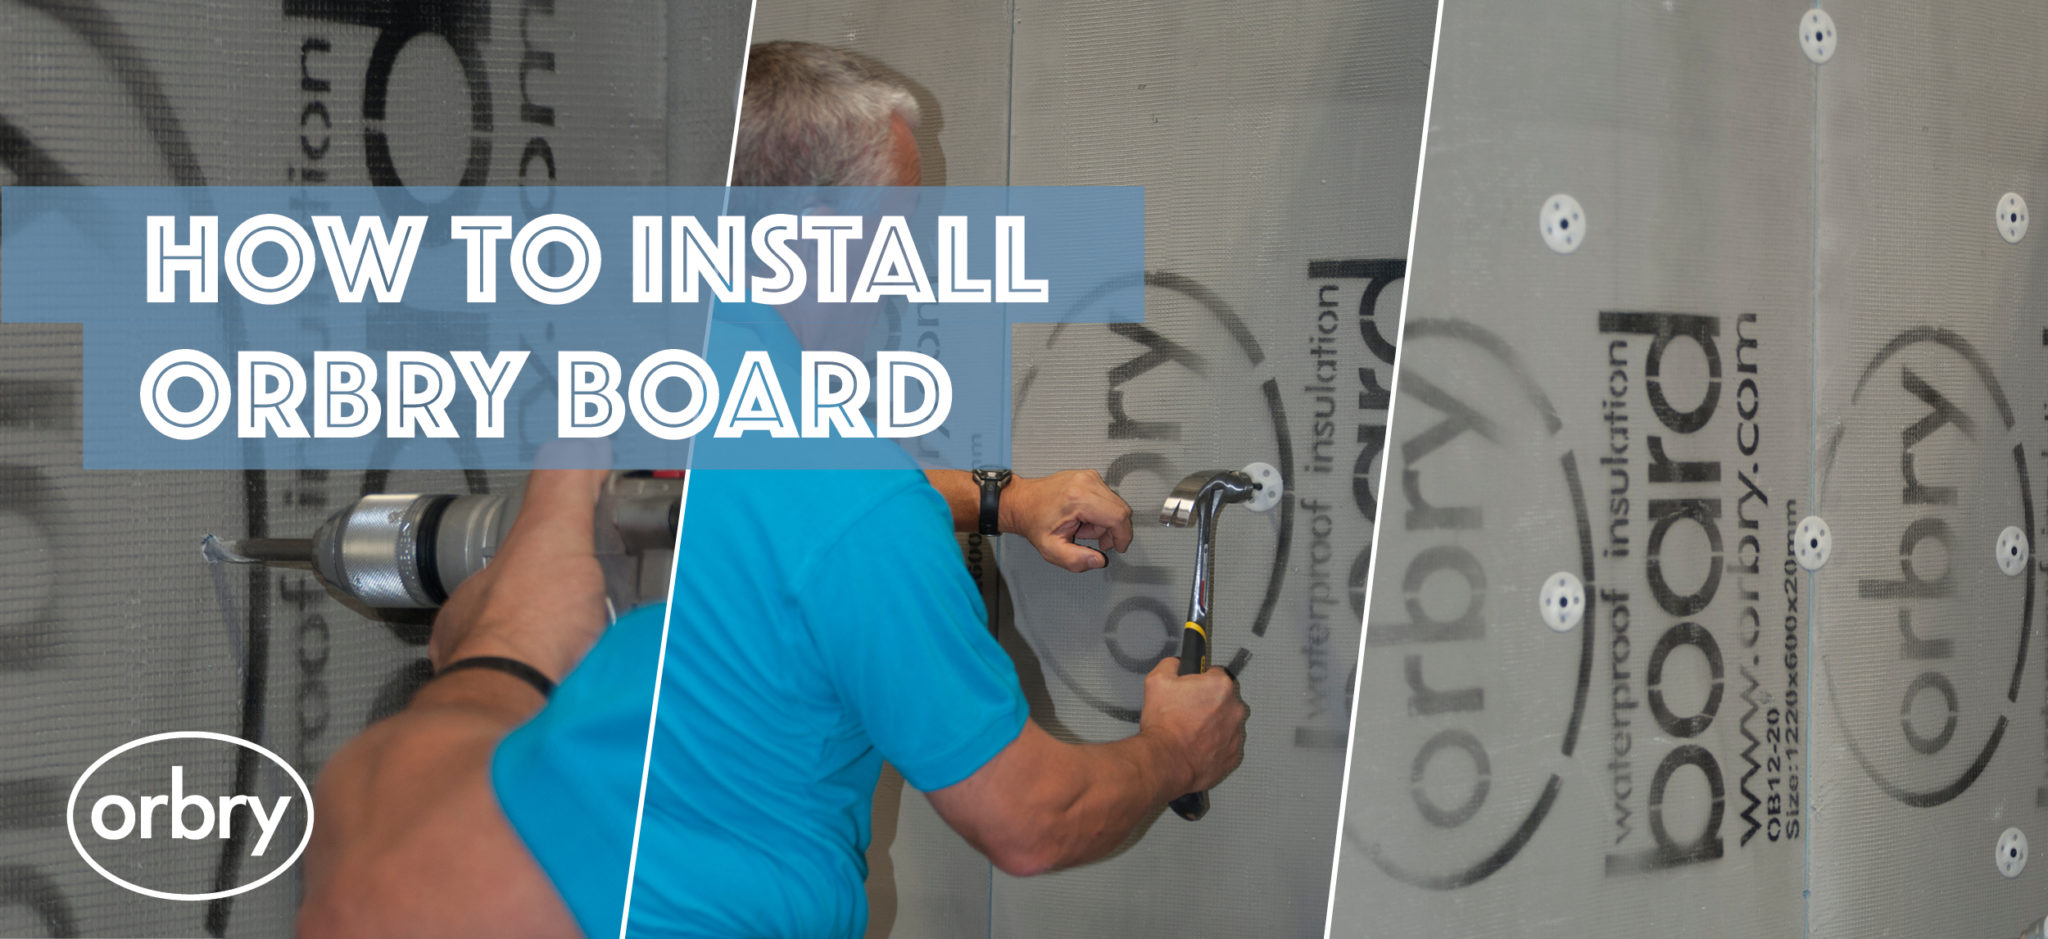
How To Install Orbry Board

Make Your Wet Room Watertight with Orbry Waterproof Insulation Board
We at Orbry know how stressful a new build or renovation can be, so we have a solution to help make your wet room watertight, with our new Orbry Waterproof Insulation Board. When installing a wet room, it is easy to overlook the foundations which soon become invisible when the room is tiled. However, if waterproofing the foundations is overlooked then your dream wet room will quickly become a nightmarish damp room.
So why not try Install Orbry Board? It has a variety of benefits including:
- Fully waterproof, just what you need for your wet room.
- Heat insulating, to keep your wet room not only waterproof, but nice and toasty as well.
- Holds hanging weight up to 60kg to give you a wider choice of floor and wall tiles.
- Light weight and easy to fix, giving you more time for other things in your life.
- For walls and floors, with this one product you can make sure the whole room’s foundations are secure.
The Install Orbry Board does not just have these benefits, it is also suitable for a wide range of uses:
- Waterproofing wet rooms and showers.
- All types of tiles.
- Use with underfloor heating as a de-coupling and thermal insulation layer.
- Use as a partition layer.
We want to continue to help make your life easier, so we have put together three guides to help you through the application of our Waterproof Insulation Board.
How to Install on Solid Walls
Existing Tiled Surfaces:
Existing tiled surfaces need to be mechanically fixed (see mechanical fixing section) through the tile and back to an underlying sound load-bearing surface using Orbry Spanker Dowels. The Orbry Spanker Dowels must penetrate the load bearing surface by a minimum of 35mm. Alternatively, remove the tiles and adhesive and return to the underlying sound load-bearing surface. All wall surfaces must be load-bearing, sound, clean, and free from dust and other contaminants including paint. Walls must be flat and even.
Fixing with Tile Adhesive to Brick, Block or Concrete Walls:
- Apply a suitable flexible cement based tile adhesive with a trowel.
- Fix direct to the wall and adjust to ensure boards are perpendicular.
- Butt joint adjacent boards.
Mechanical Fixing:
- Offer the board to the wall, and using a 10mm drill bit, drill through the board to a depth equal to the length of the Orbry Spanker Dowel that you are using. Insert the Orbry Spanker Dowel and tap in the securing pin until board is held in place.
- Drill additional holes every 300mm and loose fit with Orbry Spanker Dowels.
- Hammer in all fixing pins until the Dowels are all securely fixed. Do not over hammer the dowels or they will crush the boards.
Dot and Dab Fixing:
Dot and Dab fixing can be used to fix to uneven walls:
- Drill the board with a 10mm masonry drill and apply dabs of suitable cement-based adhesive to the back of the board where the drill holes are located.
- Offer up the board to the wall and push firmly before adjusting with a level to ensure it is true and level.
- Allow the adhesive to dry, then drill through the existing holes to the depth of the Orbry Spanker Dowel, insert the dowel and fixing pin and hammer in.
For a more detailed guide click here.
How to Install on Stud Walls
Orbry Boards are also ideal for fixing to stud walls.
- Fix the vertical studs at 600mm centres for 20mm or thicker Orbry Board, or 300mm centres for 12.5mm and 10mm thick boards.
- Make sure all board edges are supported with noggins.
- If boards are being used in wet areas, fix with Orbry Stainless Steel Screws and always use Orbry Backer Board Washers.
- When fixing to dry areas, apply Orbry Self Adhesive Scrim Tape to all horizontal and vertical joints using a thin layer of cement-based tile adhesive and a float trowel.
For a more detailed guide click here.
How to Install on Floors
Orbry Boards are ideal for fixing floor tiles to timber, screed and concrete floors. Fully waterproof, they can be used to create an insulated tanked wall and floor system ideal for wet rooms. When used with electric under floor heating systems, Orbry Boards will increase the efficiency of the system by reducing heat loss to the surrounding environment, significantly reducing your electrical consumption.
Timber Floors:
- Fix and level any loose floor boards.
- Spread a coat of rapid-setting cement polymer modified fast setting cement based adhesive onto the floor and lay the Orbry Boards into the adhesive.
- When fixing to dry areas, apply Orbry Self Adhesive Scrim Tape to all horizontal and vertical joints using a thin layer of cement based tile adhesive and a float trowel.
Sand, Cement Screed or Concrete Floors:
- All surfaces must be of good quality, sound, flat, clean and free from dust and other contaminants including paint.
- Apply a suitable flexible cement based adhesive ensuring no voids are left underneath and the boards and sub-floor are 100% in contact with the adhesive – New sand and cement screeds need to have cured for at least three weeks and concrete floors for at least six weeks.
- When fixing to dry areas, apply Orbry Self Adhesive Scrim Tape to all horizontal and vertical joints using a thin layer of cement based tile adhesive and a float trowel.
For a more detailed guide click here.
Orbry Boards are the ideal surfaces to tile on. They create a waterproof system that is excellent for all wet rooms and showers. When waterproofing a wet area, it is important to also waterproof all joints. Due to their integral strength being able to bear the combined weight of up to 60kg of tiles, adhesive and grout, Orbry Boards allow you to choose from any tile and stone finishes. Orbry Boards are the key ingredient to help make your dream wet room a reality, so what are you waiting for? If you need any help with the Install Of Orbry Board please either pop into one of our show rooms or contact us here
